The day that we hooked up the new washer and dryer was also the day that we learned that the standing shower in the bathroom was prone to dumping water into the basement. Great, right? Had Pete not been starting the first load of laundry while I showered in the bathroom above, this was a situation that might have gone on for a lot longer; it had already been happening for weeks unnoticed, only because we hadn’t spent a lot of time in the basement yet, and apparently no time in the basement while another family member showered. I should also clarify my over-dramatization: when I say “dumping water” I mean, maybe a few cups full of water with every shower, not gallons. Had there been a lot of water, we probably would have noticed water damage on the floor, or standing water at some point, and there really is none.
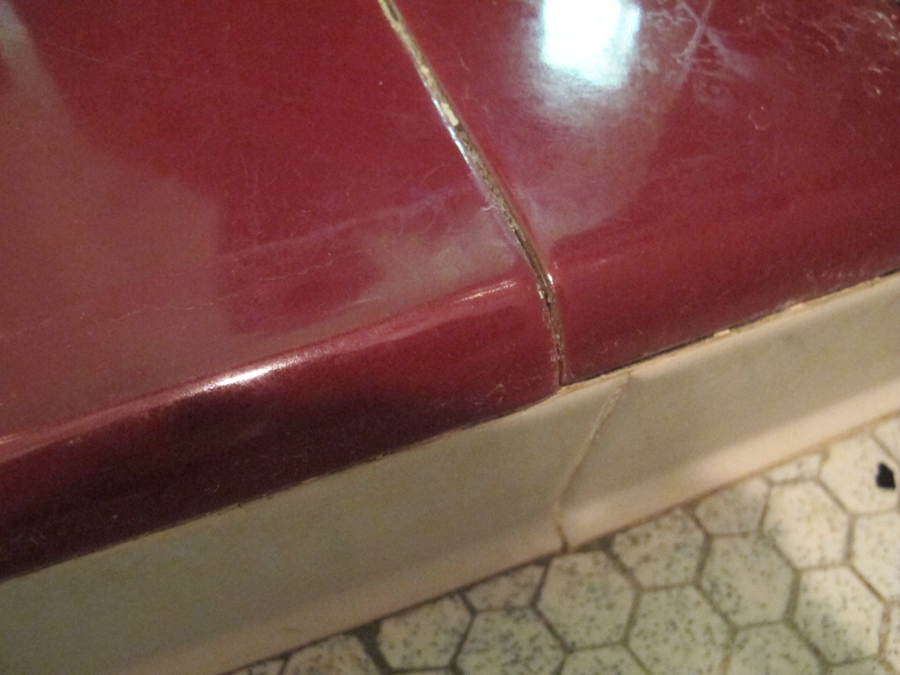
The situation, we quickly discovered, wasn’t an issue with the base of the shower, rather the doorway and shower threshold itself which had some loose tiles and missing grout. The few cups of water that deposited in the basement was water that dripped down the shower door or leaked through as we stepped over the shower threshold. Evidence photo #1: Here’s a big ol’ crack in our grout.
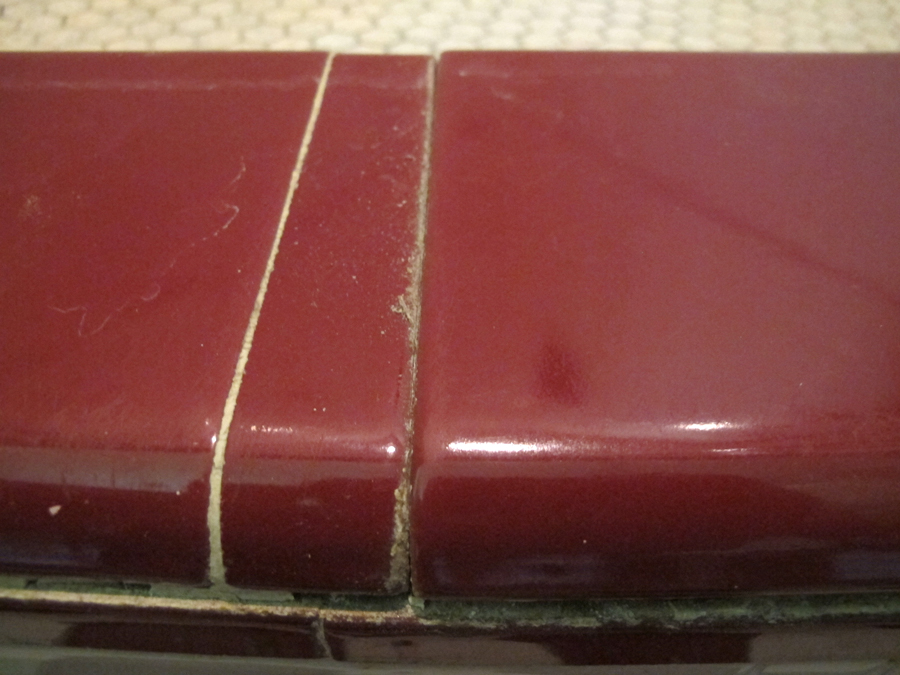
Evidence photo #2: From another angle, the situation looks much worse. Water dripping over the bullnose of the tile was being wicked within the threshold. Plus, the grossness of this old shower should be taken into account for why we really do need to do a major overhaul someday.
We don’t typically encourage band-aids around here, but as you know with home renovation projects, sometimes they’re necessary in order to make ends meet (and sometimes a girl won’t sacrifice her shower permanently for the cause). This repair didn’t quite warrant us gutting the entire shower, though it does concern me that there’s probably some degree of mold baking within the entire threshold.
As a means to fix the leaking, we started by allowing the shower to dry for several days (we were out of town during this time, which made it a little easier). Once we suspected that the problem area had sufficiently dried out, we removed several of the most offensive threshold tiles. These were already noticeably loose underfoot, and they came up with a little pry.

The fact that the tiles weren’t sitting solidly anymore was part of the issue; it may be the biggest reason for there being no grout between the tiles, having washed away after years of the tiles loosening in place.

With that observation, re-mortaring the tiles was the first part of the project. As this was a temporary fix, we used some pre-mixed mortar that we had on hand to secure the tile back in place.

The re-positioned tiles were recommended to sit untouched for 24-hours (luckily, we do have a nice bathtub). Grouting was next on the agenda, for which we picked up a container of pre-mixed white grout to use (we have a lot of powdered grout on hand from other projects at the old house, but this was our first encounter with white grout and we wanted our patch job to blend in).
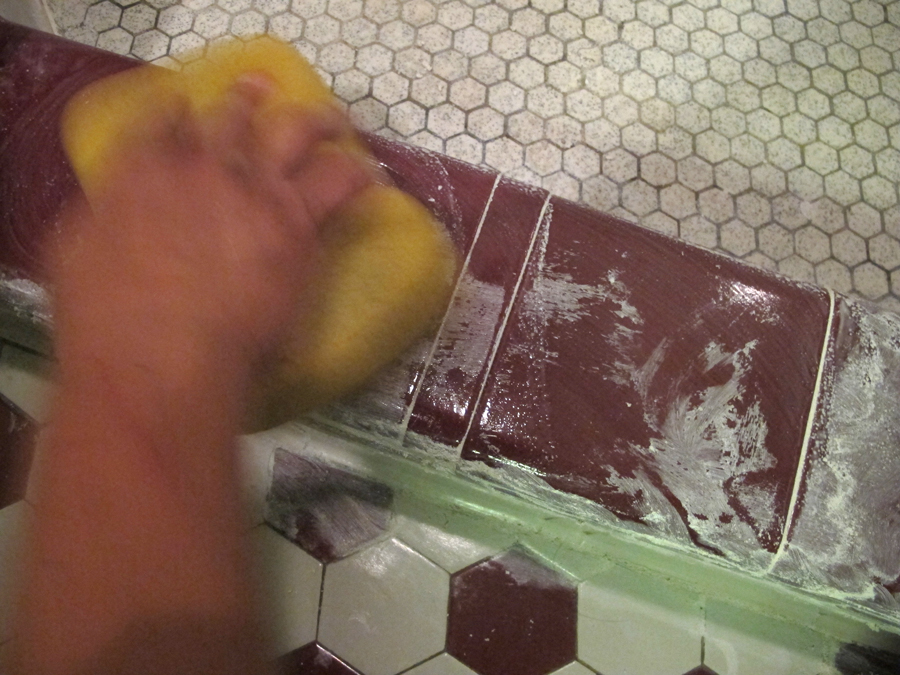
The tiles in the bathroom, both the threshold tiles, the wall tiles, and the main floor hexagonal tiles, are all laid extremely close together with barely a discernable grout gap between tiles. To really mash the grout in there, for the sake of helping to keep water out of our basement, we skipped using the float and instead used our fingers to mash it in. We did this on top of the tiles, as shown, as well as around the base of the bullnose on all of the tiles to help prevent water from wicking into the core of the threshold.

We wiped the excess away with the sponge, like you would any tiling project.
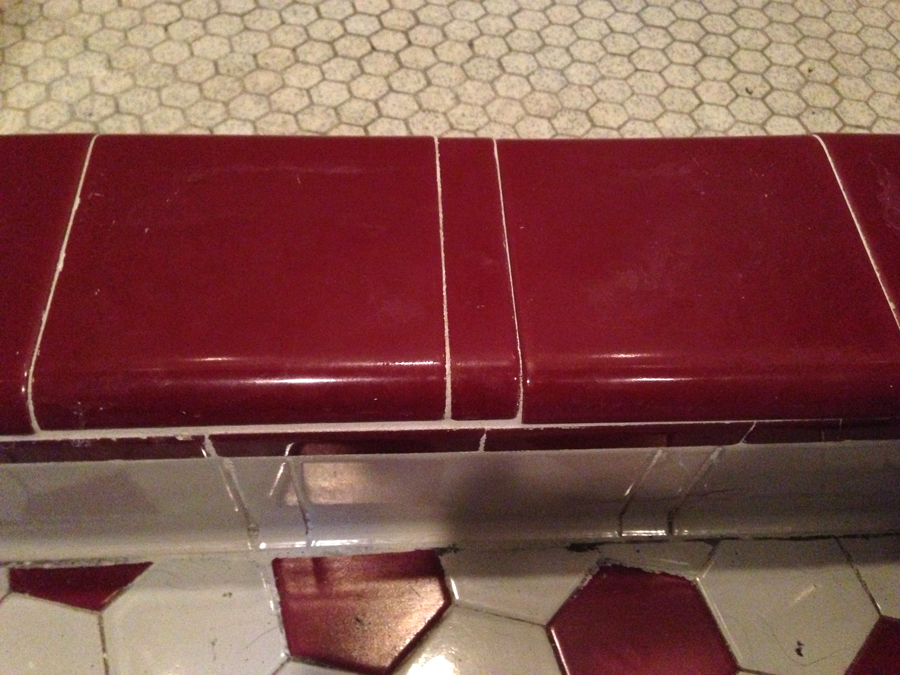
We allowed it to sit for another day, untouched, to allow the grout to cure completely, but then followed up with a tube of leftover clear silicone that we added as an extra precaution to help seal in gaps around where the shower door meets the tile inside of the shower and where the frame attaches to the threshold. We left the silicone to dry for an afternoon before testing the shower, and were very relieved that our cheap bandaid did what it needed to do, which was keep water out of the basement.
There are a few other areas of the house that we’ve found required immediate and temporary repairs, so I’ll be getting to those little buggers as we tackle them. In other news, our floors throughout are a total squeakfest, but we can swear that they weren’t during the visits we made to the house pre-closing. What’s up with that?


Leave A Reply