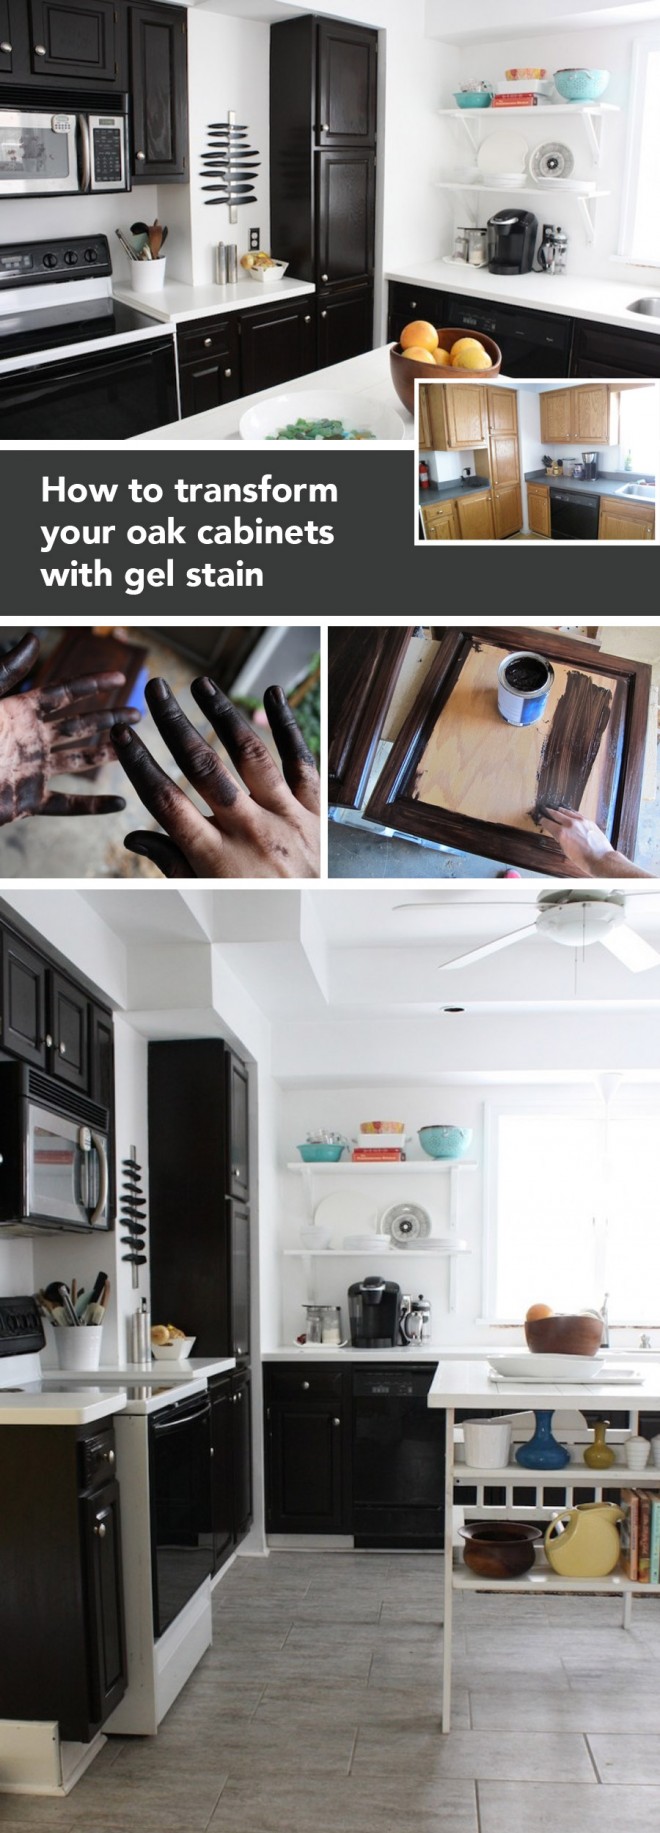
On Monday when I wrote about getting my kitchen party started, I received a bunch of thoughtful comments and emails directing me to a handy DIY post on monicawantsit.com. The post, quite simply, demonstrates how Monica achieved an amazing oak cabinet transformation using General Finishes stain, much in the way I’ve been planning to stain my oak kitchen cabinets.
Her pictures and finished cabinet look great, no doubt about that, but I did have some of my own questions/concerns/general curiousities that didn’t seem to be answered in the comments:
- How is it that you don’t have to sand the manufacturer’s finish off completely?
- Does adding 2-3 layers of stain in a way thicker than I might normally stain wood allow the natural grain of the wood to show through?
- Or is it too opaque, and really look more like painted wood when you’re not upclose?
- Is it really an even way of coating the cabinets, using a sock to smother the wood, or are there still going to be some areas that vary in shade (like on my own very first test run)?
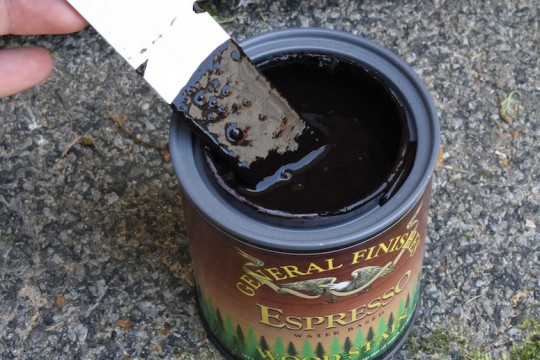
- Does it really matter that my supplier said that Gel Stain by General Finishes was discontinued, and sold me a thicker-than-the-ordinary water-based wood stain to use instead?
I’ve already started some sanding work on my own kitchen cabinets, but if this works, it could save me a lot of time in the sanding arena. Dare I say, it would be a magical solution.
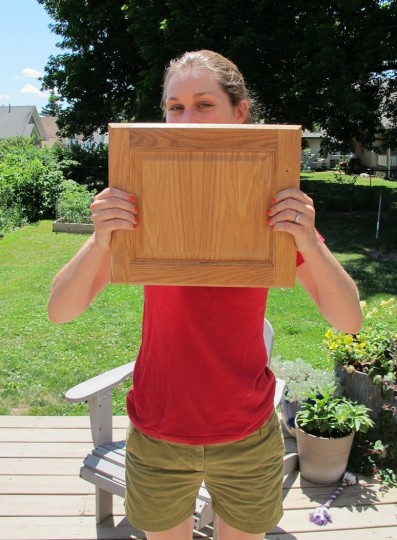
Because I still have plenty of unused oak cabinets in the attic from when I lessened my overhead load a few years ago, I removed one the smallest cabinet doors and decided to sacrifice it for the cause so that I didn’t have to risk messing up one of the cabinets that I actually needed to reinstall.
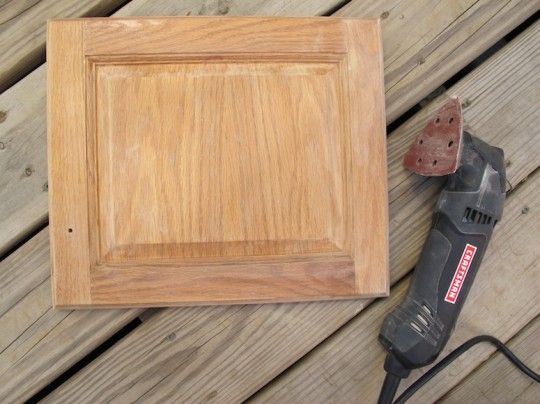
After cleaning off the cabinet door with TSP-PF and wiping it clean with a damp cloth, I followed Monica’s tutorial closely, first sanding the door lightly (I used 120 grit sandpaper on the Craftsman Multitool). Her instructions indicated to spend about a minute on each door, but I spent closer to two, mostly because I worked slowly in the beveled areas to keep the sanding even and neat.*
*First note: Probably should have followed this up with a quick hand sanding to eliminate some swirlies left by the tool.
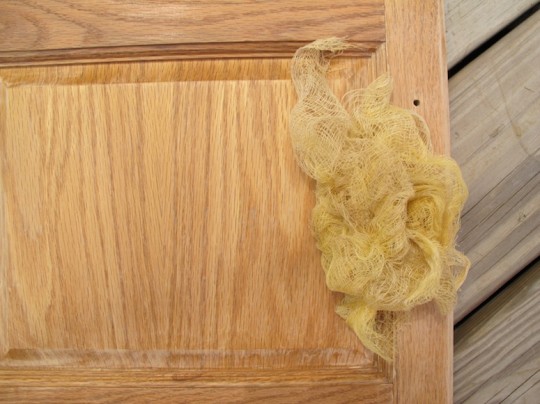
I even had tack cloths on hand. If you haven’t used them before, they feel like cheesecloth covered in something sticky like wax or honey. All sawdust will cling to its tack-iness and really help to clean up whatever you’re cleaning easily.
It honestly didn’t feel sanded well enough at this point, but I was determined to test out the tutorial her way anyways.
Just last week Pete just threw out about 19 singleton/unmatched socks and even asked me if I wanted them for staining, but I declined. Low and behold, now I needed some to use for the stain application, so I had to sacrifice a pair of my own. Footies.**
**Second note: In hindsight, I should have used the smooth outside cotton, not the slightly pilled/rough inside of the sock. I figured this out by the third coat, and it made a little bit of a difference.
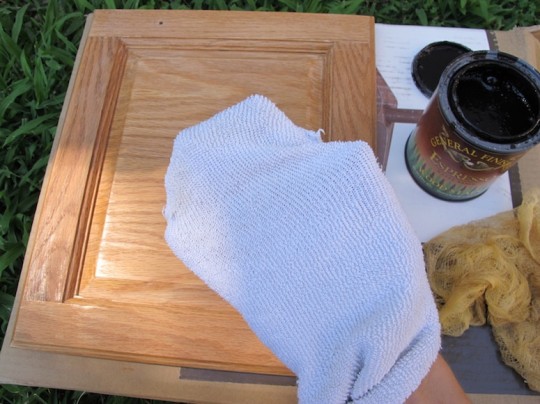
The first coat went on smoothly enough; I had to saturate the sock a little more to really get the stain in the bevels completely (a foam brush would have worked too).
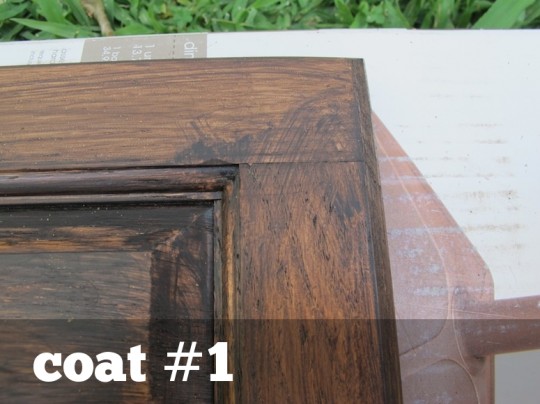
The piece did look like crap after the first coat, as Monica and everyone in her comments also cited, but I’m happy to say that the stain did not oversaturate in the bevels the same way that it had for me on my first test. I attribute this back to the fact that much of the manufacturer’s finish was still present.
Where stain saturation was apparently an issue, was how I used the sock to stain in the direction of the wood grain. In the corners, the grain changes direction and my socks streaks overlapped a bit. Hopefully it would clear up by the time a second or third coat was applied.
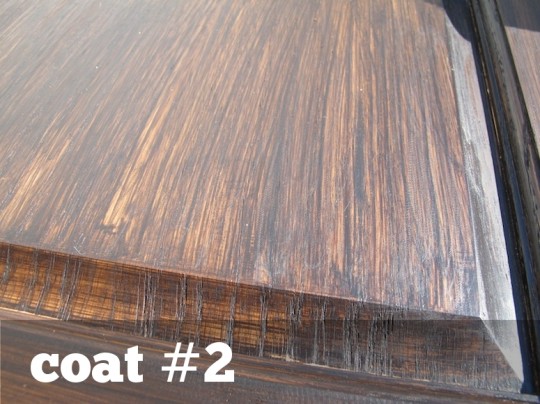
Coat two looks better in pictures than it did in person; I waited a full 24-hours to apply it over the first coat. In this next picture, it is still wet, and it also looks very streaky in the center panel.
Along the bevels is where this method worries me a lot. Can you see in the bottom of the photo how the grain runs vertical in the picture, and my sock-stain-swipe runs horizontal? Sorry that I slapped the text right over that focal point.
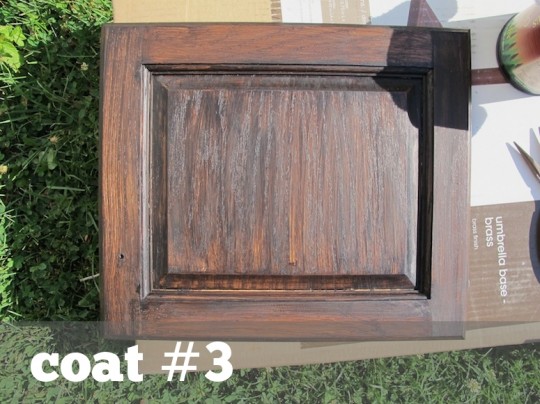
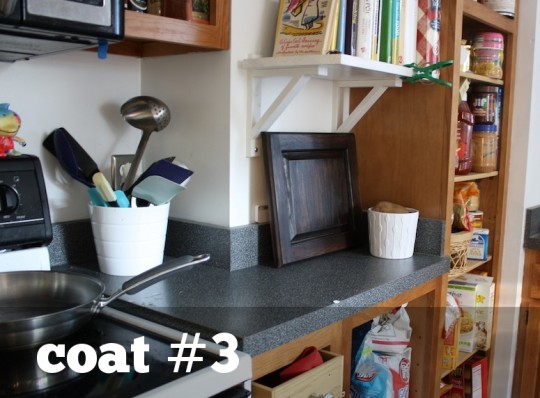
Because it was still streak-city when I finished the second coat, I did proceed with a third coat after another full 24-hours (this was an all-week project). There’s a stain can shadow over the top right corner of the door here, don’t be fooled on its espresso-y richness. In any case, it looked better after the third coat. Happily, I could see the grain, despite light sanding and adding thicker-than-what-felt-right coats of stain.
When it dried, I brought it inside. From a far, it looks a lot different inside in the indirect sunlight. Darker. Richer. Good. But I didn’t exactly feel confident yet.***
Up close, it still felt streaky. Some parts were still lighter than others. Maybe it needs a 4th coat. It felt a little “you stained this by hand, you crafty girl, and I can tell that it’s not professional.”***
Know that feeling? I cringe.
***Third note: There are no coats of polyurethane on this yet because I was in Boston for work all day Thursday, and I didn’t have that kind of energy when I got home late. But would that make that much of a difference in the final streakiness?
I’m needing some major DIY encouragement. Or discouragement. Do I waste my time with this? My god, be honest. Maybe an iced coffee will give me the clarity I need. Off to find one. Have a good weekend!
Editor’s Update: I did it, and it is awesome. Check out the finished cabinets right here.
Looking for the Gel Stain that I used to stain the kitchen cabinets? I could not find it in stores, and my best resource was General Finishes via Amazon. Learn more about the product and purchase it for yourself right here.







8 Comments
After putting poly on it, I’d like to see a side-by-side comparison with your other test piece! Then you will really know which one you prefer.
No i don’t think you waisted your time. I really don’t like that natural oak color tone that is so common. Its so over used and i don’t know why. Probably because spraying poly on is the easiest most efficient way to finish production cabinets. Staining is difficult and leaves more window for error thus more production rejections because of the way different panels, styles and rails will accept the stain. In a production line cabinets are assembled from a parts bin and the different panels, style and rails come from different trees and each tree will accept stain slightly different leaving variation in the final assembly. I found this out the hard way when i went to stain a very expensive front entry door. So manufactures take the easy way most predictable path. . I once stained cabinets with orange Japanese stains that i got from Pittsford Lumber in Shoen’s Place. THey have all sorts of colors. I had a ESP Strat style guitar (maple) that was stained with a blue Japanese oil. It was amazing. THis sort of thing isn’t used enough. THere are so many options out there other than just natural. I think homeowners get stuck in the idea of resale and what will appeal to a mass home buying market. I think its important to make the changes to your house based on how you want to live in it. I like what you have done. ITs sharp and a bit more modern and less traditional. Some nice silvery door pull hardware would really be a nice contrast.
Maybe not sanding things down all the way will leave textural variations and stryation designs in the final making it look more weathered. Could be a nice technique.
All my Googling a few years back ~ about getting a dark, dark stain on existing wood ~ ultimately discouraged me from trying, and I went directly to paint. This was for a bathroom vanity cabinet. I used black paint and wiped on dark brown to get some texture. Everything I read seemed to indicate that it’s really difficult to get a good result, even with a Java/Espresso dark stain. I can’t imagine taking on all those kitchen cabinets, but I’ve been following your progress!
Hi Emily,
I really like the way the cabinet door looks. I bought unfinished oak and stained them myself. I put in painstaking effort to keep them looking semi- DIY done cabinets, rather than commercial bought ones. I love the way the grain in the wood stayed for me. Granted my cabinets were unfinished when I started, but I have a couple things I did differently which may help?
– I used staining clothes instead of an old sock or towel. I found they left fewer streaks and soaked up less stain.
– I put a SUPER thick coat on during round one (nearly left a puddle on the surface), then I used the wet staining cloth to go back and gently wipe/ tidy up the stain job about an hour after I applied it – wiping only as much off as I could with a gentle wipe and leaving what I would still consider a liberal application of stain. I found this worked well to get the thickly applied look without the issues of pools, streaks, etc.
Thanks for the tips, Doneen! How many coats did you end up having to do on your originally-unfinished cabinets?
I, also, have over-stained the finish on a few of my windowsills that had become bleached out, and through trial and error on my part, I think that your streaky issue is coming from the thicker water based stain that the supplier sold you. You really do need a gel stain if you’re staining over existing finish to get even coverage. General Finishes website doesn’t say it’s discontinued (it’s still available on the amazon link through Monica, too). Here’s a link to general finishes that says it works better because it doesn’t penetrate too deep:
http://www.generalfinishes.com/retail-products/oil-base-wood-stains-sealers/oilbase-gel-stains.
That makes sense to me, though that wasn’t the brand I used. I think I used minwax gel.
Now, that’s the kind of tip I needed. Off to search for a gel substitute for my water-based stain. I appreciate it, Mary!